Part 1: Fun with Filters
1.1 Finite Difference Operator
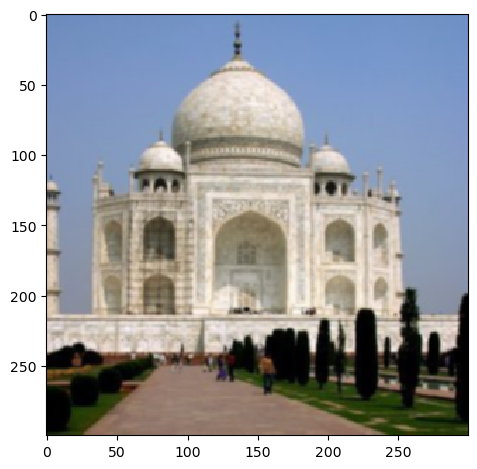
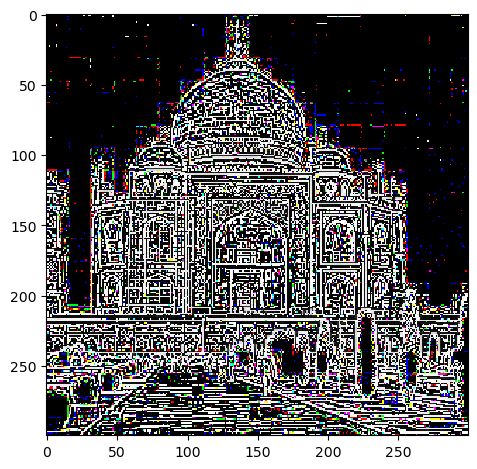
I used the D_X and D_Y operators to get the partial gaussians of the cameraman image in the X and Y direction. Upon obtaining the partial gaussians, I then used the L2 norm formula to obtain the gradient magnitude image. Then, I chose a threshold of 0.35, to obtain the binarized image.
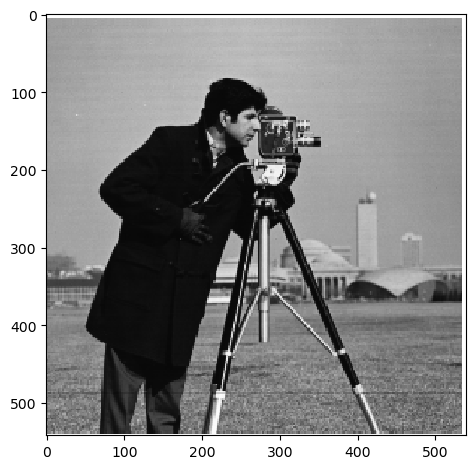
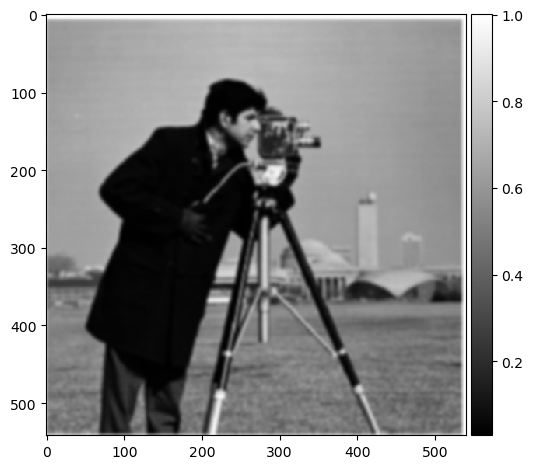
Cameraman

Gradient Magnitude
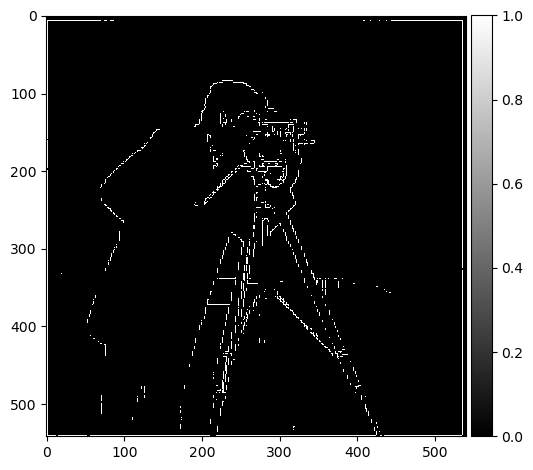
Binarized Gradient Magnitude
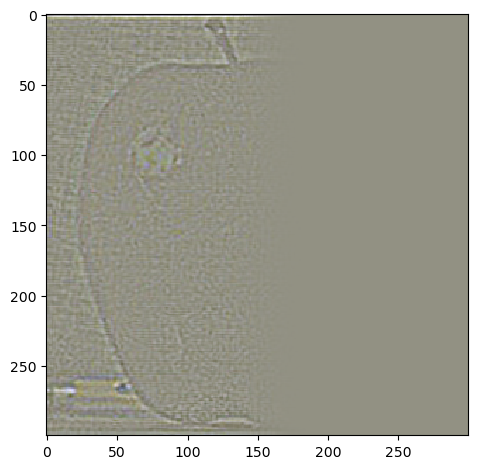
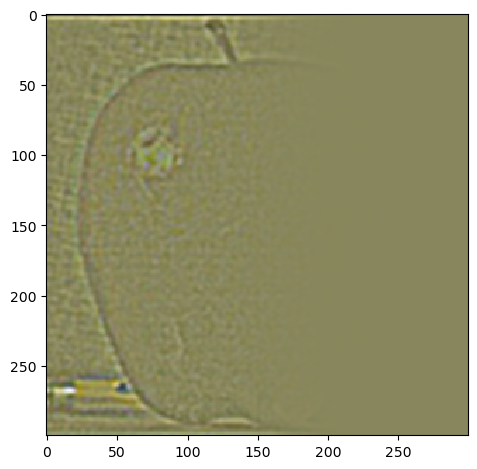
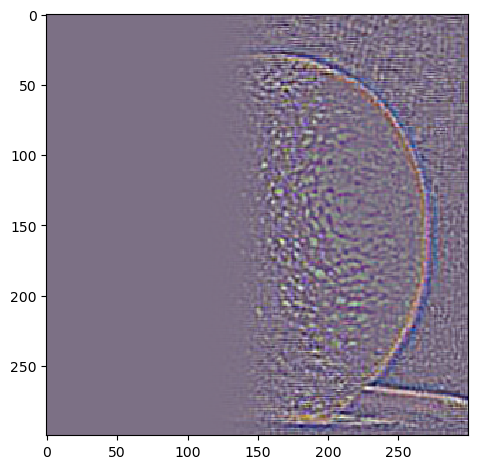
1.2 Derivative of Gaussian (DoG) Filter
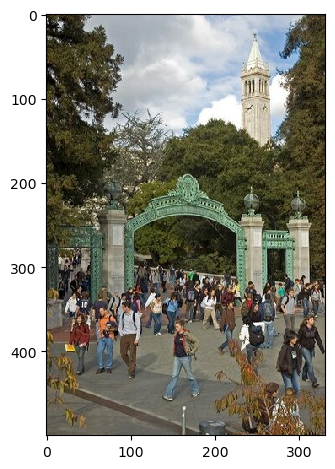
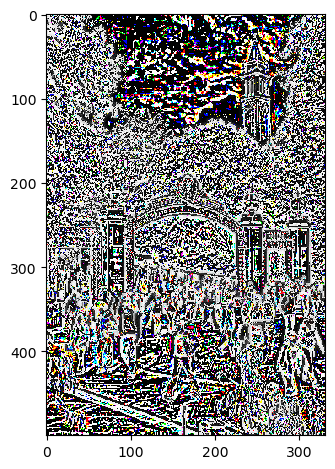
Some differneces in using a blurred image vs the original image in finding the magnitude and edge images, is that the edges are much smoother and connect more of the dots. This happens because taking the gaussian of the original images smoothes sharp corners which are high frequencies, and allows for smoother edge detection.
Cameraman
Blurred Cameraman

Blurred Gradient Magnitude

Binarized Blurred Gradient Magnitude
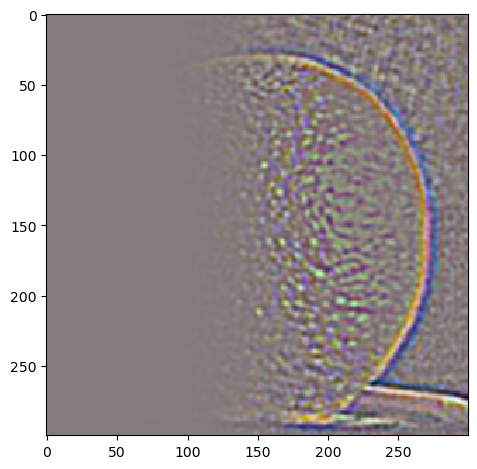
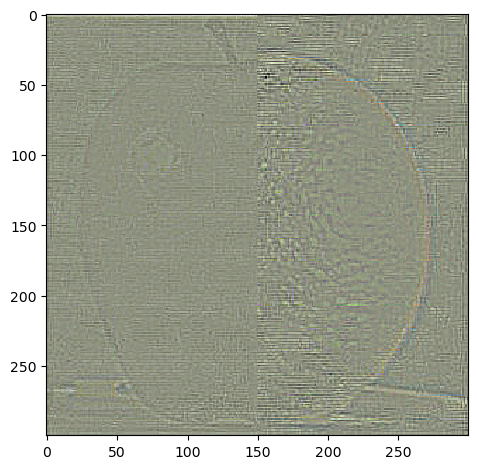
Derivative of Gaussian (DoG): This method also gives us similar results as the previous version. Here we convolve the gaussians in the X and Y direction to create DoG filters. We then use these filters to obtain smooth edges, similar to previous results.
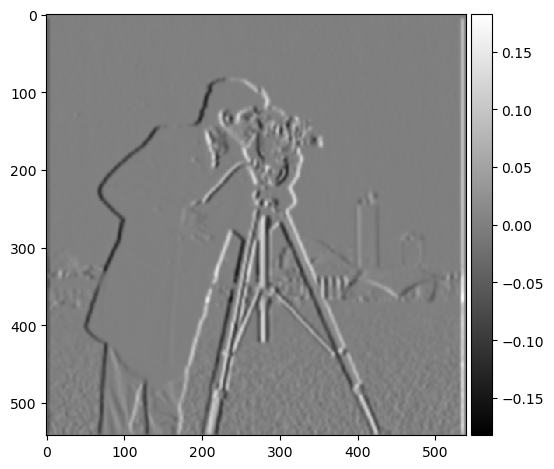
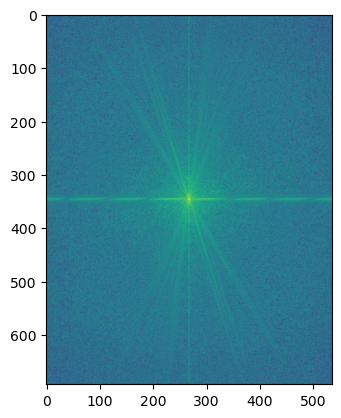
DoG D_X
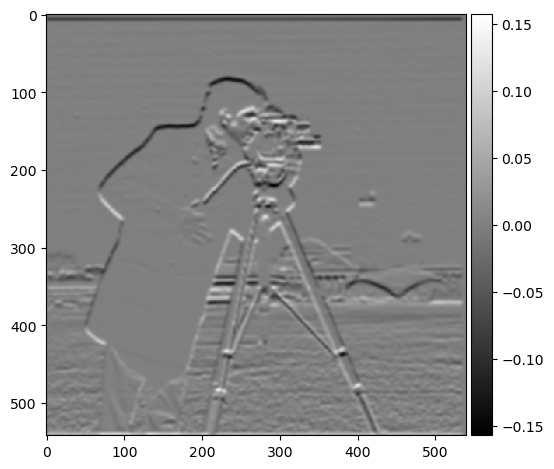
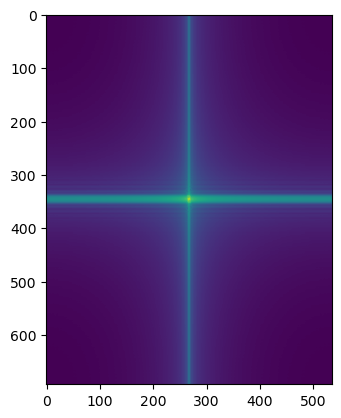
DoG D_Y
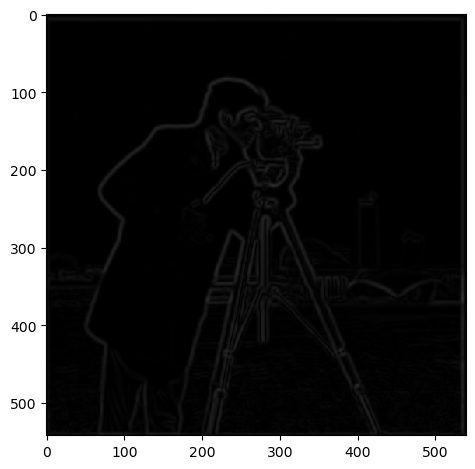
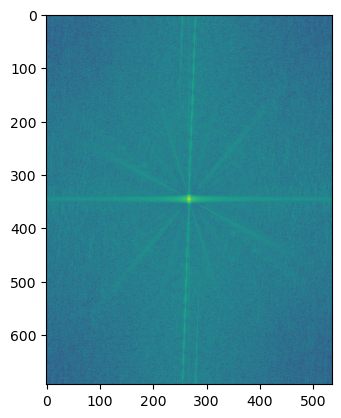
DoG Gradient Magnitude
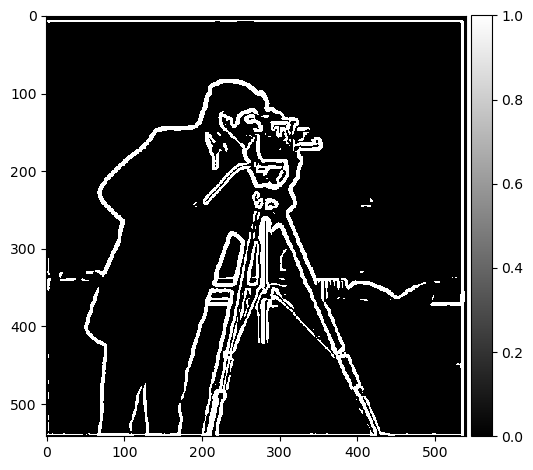
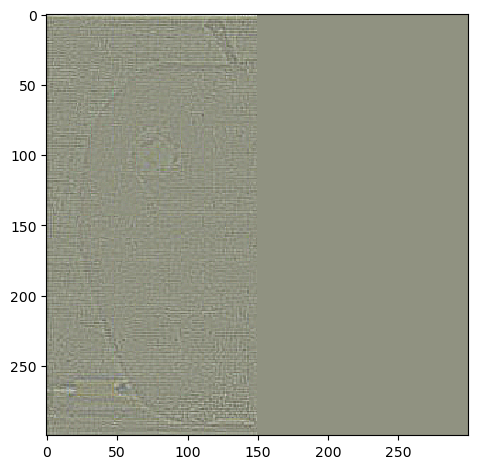
DoG Binarized Gradient Magnitude